tl;dr Some notes on deploying AnythingLLM in an Azure Container Instance using Bicep, ensuring persistent storage. AnythingLLM allows you to use multiple LLMs, using your existing API keys, with one UI.
Introduction
🤖 I created this article, but it has been reviewed and refined with help from AI tools: GPT-4o and Grammarly.
Azure Container Instances (ACI) offer a quick and straightforward way to run containers in the cloud without managing the underlying infrastructure. AnythingLLM is an interesting project which provides an LLM chat interface allowing you to configure your own API keys for a variety of LLMs (e.g. OpenAI, Anthropic, Google and others).
The LLM landscape shifts regularly so not being tied to a subscription for any particular LLM is beneficial. Instead you can buy API credits for a few dollars each for a number of different LLMs and get an API key for each. You can then simply plug in the API key into AnythingLLM and you can interact with each of them from the very same UI.
AnythingLLM can be downloaded as a desktop app here. This will be all most people need. If you use multiple machines and want instance you can access across each machine, an alternative solution is to deploy AnythingLLM into the cloud. In this post we’ll see how to deploy your very own instance of AnythingLLM into Azure so that you can access from any browser any time you need it.
NOTE: One limitation is that ACI does not natively support HTTPS, which is a must-have for secure communication over the web. To overcome this limitation, we can use Caddy. I’ll be using that here and I discussed that in more detail in a similar previous post.
Bicep Template
To deploy our solution, we will use the following Bicep code necessary to provision a container group with two containers: Caddy and the AnythingLLM app. The Caddy container will handle HTTPS traffic, forwarding requests to the AnythingLLM container. I also have a GitHub repository where this and other example Bicep templates can be found.
main.bicep
The main.bicep file defines the parameters for the deployment and includes two modules: one for creating a storage account and file shares and another for deploying the ACI container group.
| |
storage-account.bicep
The storage-account.bicep file creates a storage account and a file share which is used by the Caddy and AnythingLLM containers to persist data.
| |
aci.bicep
The aci.bicep file defines the container group, specifying the properties for both the Caddy container and the AnythingLLM container:
KEY POINT
One key thing to note here is the customised command for the AnythingLLM container. Currently, AnythingLLM only allows for the configuration of the data storage directory. It persists it’s config data in an .env file in a different folder that can’t be mapped (ACI doesn’t allow mapping of individual files).
So to work around this we can use a symlink to map the .env file into the mounted storage folder, like so: ln -sf /app/server/storage/.env /app/server/.env. This means that when we restart the container the configuration will be persisted.
| |
Deployment
To deploy the Bicep template, you will need the Azure CLI installed. Follow these steps to deploy the solution:
Create an
.envfile. Populate the.envfile with the following values:1 2 3 4TENANT_ID= SUBSCRIPTION_ID= RESOURCE_GROUP= LOCATION=Create a
parameters.jsonfile. Populate theparameters.jsonfile with the following initial values and update for your needs:timeZone: Set this to the time zone you want to use. e.g.Australia/BrisbanecontainerGroupName: The name of the container group to create.storageAccountName: The name of the storage account to create.overridePublicUrl: If you want to use a custom domain name set that to you url (e.g.anythingllm.example.com). Then in your DNS provider you will need to create a CNAME record that pointsanythingllm.example.comto the url of the container group which will be in the form<container-group-name>.<location>.azurecontainer.iosecureAuthToken: The password for the admin user. This value is used to authenticate to the AnythingLLM admin panel.secureJwtSecret: Random string for seeding. Generate random string at least 12 chars long.
1 2 3 4 5 6 7 8 9 10 11 12 13 14 15 16 17 18 19 20 21 22 23 24{ "$schema": "https://schema.management.azure.com/schemas/2019-04-01/deploymentParameters.json#", "contentVersion": "1.0.0.0", "parameters": { "timeZone": { "value": "<timeZone>" }, "containerGroupName": { "value": "<containerGroupName>" }, "storageAccountName": { "value": "<storageAccountName>" }, "overridePublicUrl": { "value": "<overridePublicUrl>" }, "secureAuthToken": { "value": "<secureAuthToken>" }, "secureJwtSecret": { "value": "<secureJwtSecret>" } } }Save and run the PowerShell script to deploy the resources:
1 2 3 4 5 6 7 8 9 10 11 12 13 14 15 16 17 18 19 20 21 22 23 24 25 26 27 28# Load .env file and set environment variables $envFilePath = ".env" if (Test-Path $envFilePath) { Get-Content $envFilePath | ForEach-Object { if ($_ -match "^\s*([^#][^=]+)=(._)\s_$") { $name = $matches[1] $value = $matches[2] [System.Environment]::SetEnvironmentVariable($name, $value, "Process") Write-Host "env variable: $name=$value" } } } $tenantId = [System.Environment]::GetEnvironmentVariable("TENANT_ID", "Process") $subscriptionId = [System.Environment]::GetEnvironmentVariable("SUBSCRIPTION_ID", "Process") $resourceGroup = [System.Environment]::GetEnvironmentVariable("RESOURCE_GROUP", "Process") $location = [System.Environment]::GetEnvironmentVariable("LOCATION", "Process") az config set core.login_experience_v2=off # Disable the new login experience az login --tenant $tenantId az account set --subscription $subscriptionId az group create --name $resourceGroup --location $location az deployment group create ` --resource-group $resourceGroup ` --template-file main.bicep ` --parameters parameters.jsonNote: This script will use the values in the
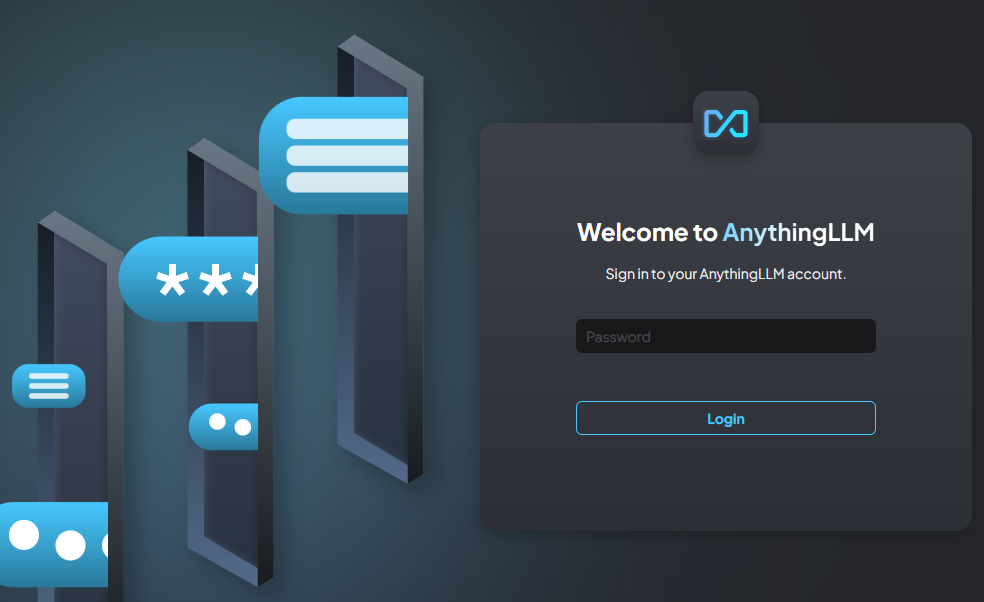
.envfile andparameters.jsonto deploy the container group.Once deployed, if all has worked as expected, when you browse to your container group url you should see the following screen.-
Note, the url will be in the following form
https://<container-group-name>.<location>.azurecontainer.io. If you used a custom url you’ll need to use that, the container group url won’t work.
You can now proceed to setup and configure as need. Refer to the AnythingLLM docs for more info.
Conclusion
In this article, we explored how to deploy AnythingLLM in an Azure Container Instance (ACI). By setting up a container group for AnythingLLM, you can easily run your own instance accessible from any browser. We also demonstrated how to configure persistent storage and ensure that your environment is securely accessible.
This setup provides a scalable and flexible solution, enabling you to switch between LLM providers without being tied to a specific subscription. Deploying AnythingLLM via ACI offers a convenient and cost-effective way to manage multiple AI models.
Feel free to share your experiences, questions, or improvements in the comments!
Thanks for reading.
